Preparing a showdown with your Big Bad Evil Guy
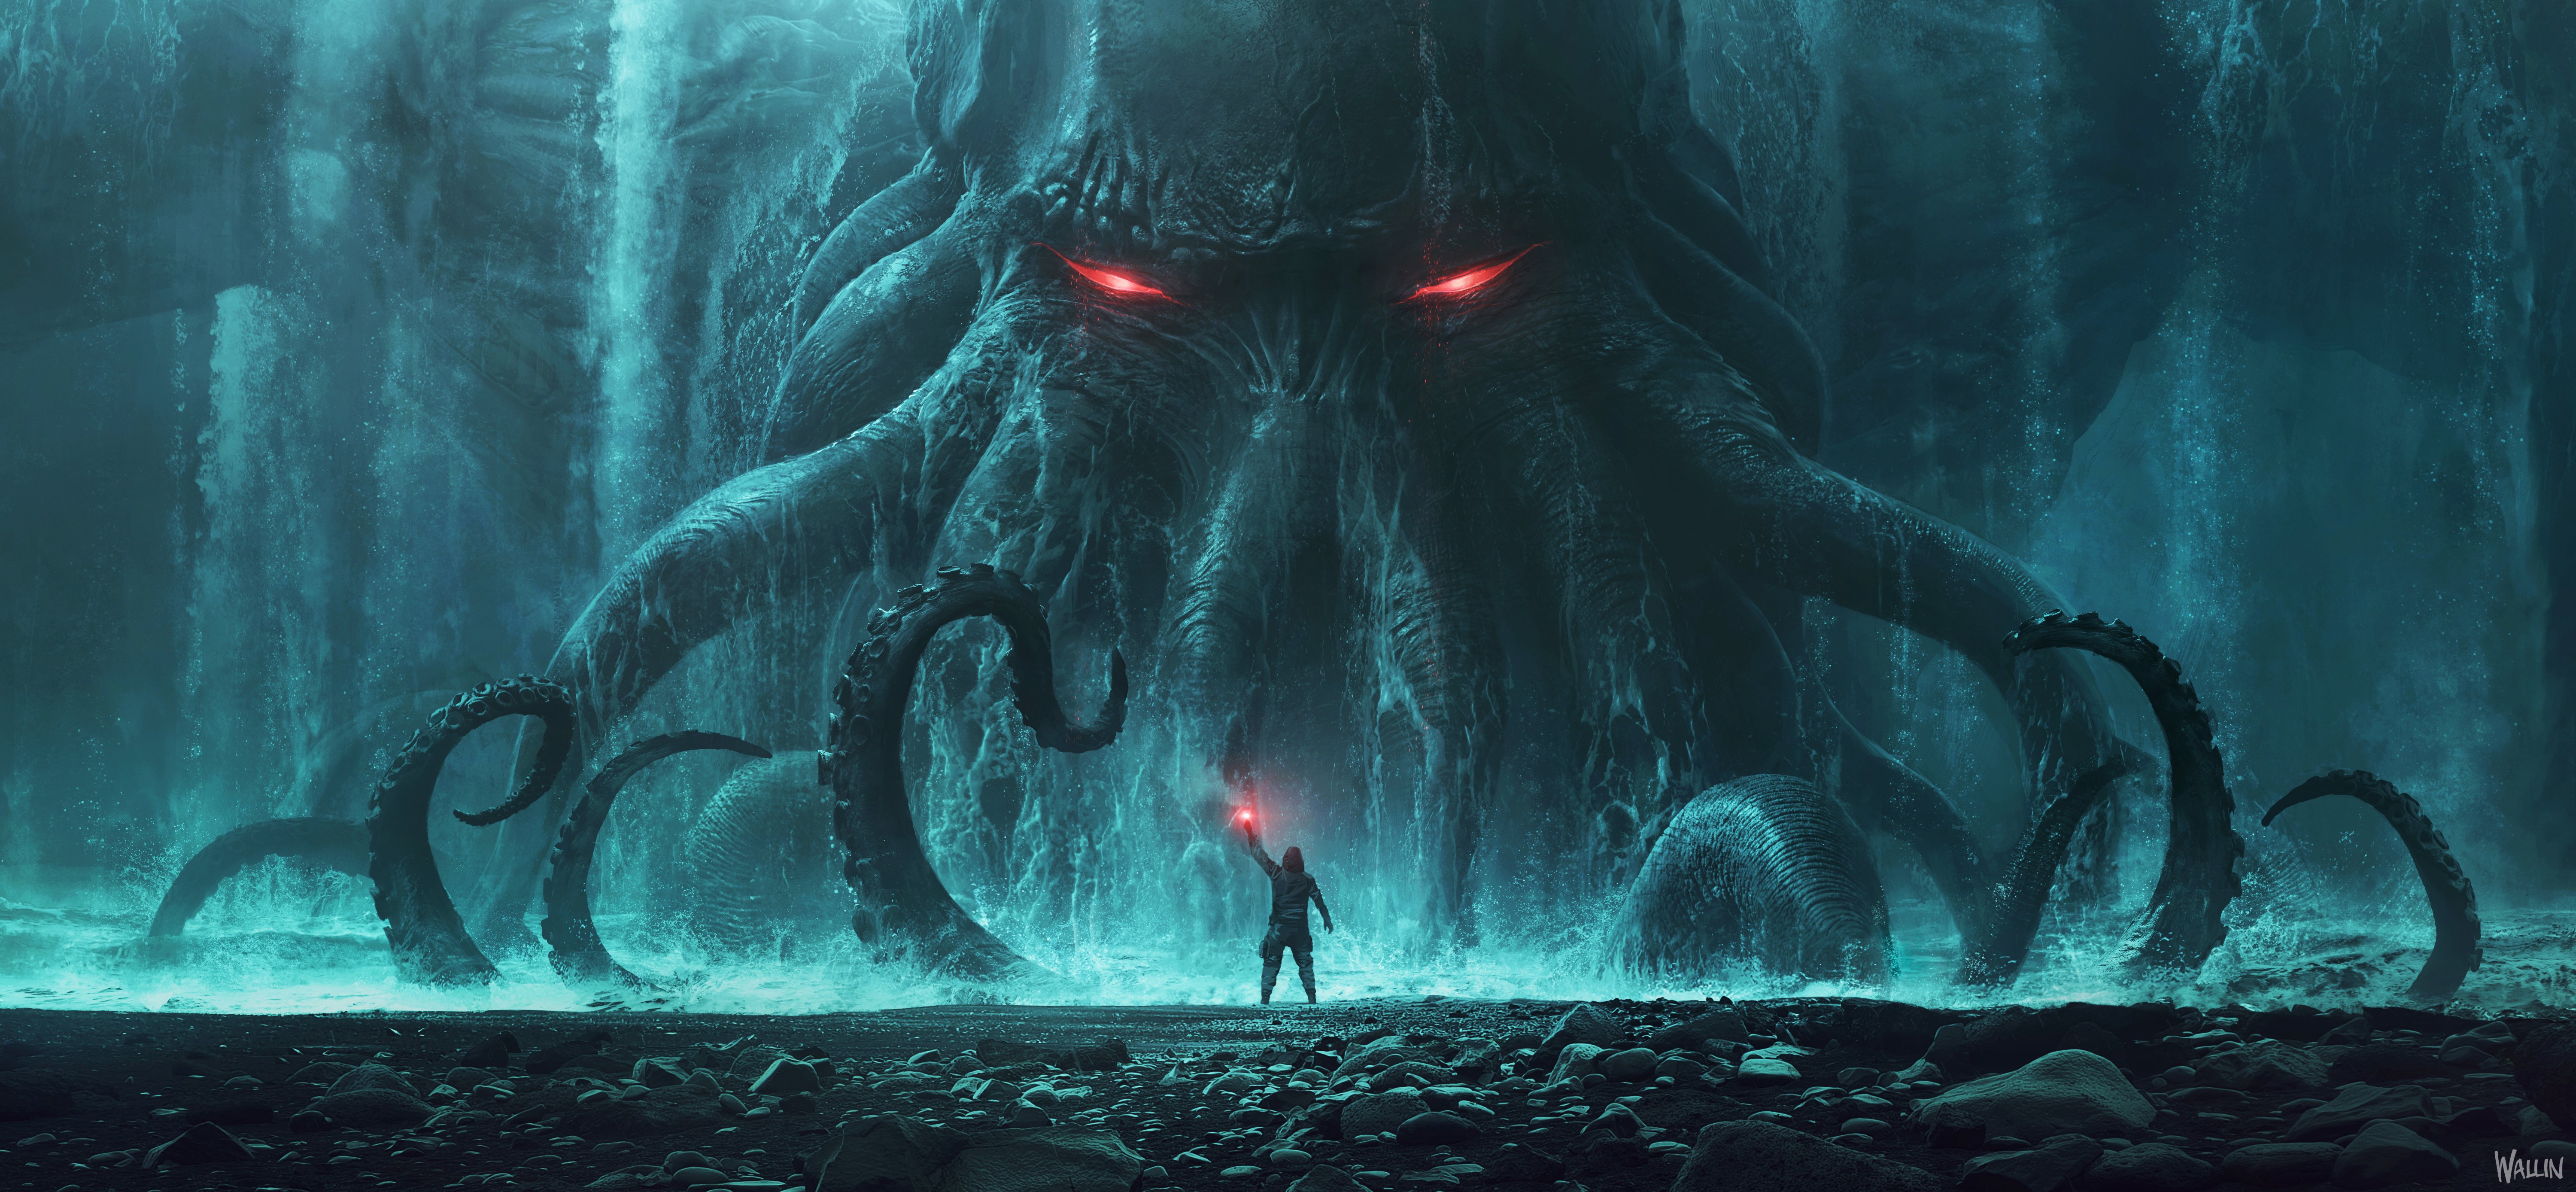 |
| Image by Andree Wallin |
[10 min read]
Last month was the mid-campaign crescendo for our Moonsea Madness group, and boy did it deliver in terms of an epic confrontation with the Big Bad Evil Guy (BBEG) hinted at in prior sessions. I'm going to recap the highlights from the story, but also talk to the tactics our DM used to ensure a very satisfying conclusion, both narratively and mechanically.
Previously, on Moonsea Madness
The prior session ended with the party, the self proclaimed Eldritch Inferno Inc., dispatching a recurring villain with a penchant for riding black dragons. Vashti, Great Old One warlock, had been busy enlisting support from both the Zhentarim and the Red Wizards of Thay in order to secure the power of the divine shard of Mystra that was present in the mysterious floating tower in Solus, the ruined town in the Moonsea which the party has been reclaiming and rebuilding throughout the campaign.
As the party returned from a curious encounter with three gem dragons (and one precocious brass) in their subterranean lair, trying to enlist them in the defense of Solus, they were ambushed by evil forces. Vashti, her adult black dragon, and an army of Zhents, were waiting for them in the hold of their (newly dissolved by acid breath) dwarven ally, Durgin, and the party made their stand to avenge him. Thanks to the tried and tested tactic of Rathius' Bow of Reversal bringing the winged beast in range of Kingsley's massive flail, Vashti was left isolated against the Eldritch Inferno and her far realm patron could not save her.
Setting up a satisfying set piece
Turning their attention now to the incursions into the area around the city, the party rode out to try and stop the armed, black clad soldiers coming close to their base of operations (the aptly named Eldritch Arms Inn). It soon became apparent, from the trail of glowing souls after the deaths of the soldiers, that these sacrifices were somehow fueling some unspeakable rite by the Red Wizards near the floating tower, and the party needed to act soon.
The challenges ahead of them: (1) a shard of divine power that needed to be destroyed, but could level the city the party had fought so hard to rebuild; (2) a beholder named the Xaltar guarding the shard by circling the tower; and (3) a rift to the far realm beneath the tower providing a gate to the material plane for an ancient, alien horror - a child of Cthulhu. That is not to forget (4), the thousands of warriors led by Red Wizards that would only too happily send them to their undeaths.
 |
If only a god could redress the imbalance caused by the perversion of the shard? Tyr: "Hold my beer"
Image by World Anvil |
Thankfully the party's investment in securing allies ahead of the confrontation saw a timely pay-off. The high priest of Tyr from Tantras had answered Tomas' call for aid, bringing with him the means to briefly create a magical barrier to protect the newly settled side of town from the expected explosion. One small drawback - Tomas, being a conduit from a holy artifact of Tyr carried on his person back to the temple to create the barrier, might lose his life. In the pursuit of justice by all means necessary, Tomas did not see this as a deterrent.
 |
Powerful allies arrived on wing, with the promise of free beverages for their aid
Image by Wizards of the Coast |
With the plan to protect the town in place, the party turned to the next challenge - how to destroy the arcane tethers holding up the tower, to bring it crashing down and hopefully destroying the shard and the rift to the far realm in one fell swoop. Thinking a dangerous delve into the ruins beneath the tower would be necessary, the party members were relieved to see their dragon allies show up. The defenders of Solus were also suitably relieved when the dragons permitted the heroes of Eldritch Inferno to climb their backs and ride towards the tower, directing their fearsome breath weapons at the denizens of evil rather than the town.
 |
| The floating tower was suspended above Solus by invisible arcane tethers that needed to be destroyed |
And so ensued the battle for Old Solus, fought on dragon back, by the heroes of Eldritch Inferno. Their mission was simple - destroy the Xaltar, the Red Wizards, and any Zhentarim forces surrounding the tower, detect the four hidden arcane tethers using purpose-built magical goggles, mark them with illusions, and destroy them courtesy of a special wand given to the party by the Aegis Arcana. All from a height of 100 feet in the air. Rathius, as the Divination Wizard, was on tether detection duty, Jaee, as the Evoker wizard, was on tether destruction duty, Kingsley, as the fighter, was on offense against the monsters, and Tomas, as the paladin of Tyr, was on defensive (and self-sacrifice) duty.
Campaign crescendo, with a side of Cthulhu
 |
The Xaltar would be not long for this world after the party shows up on dragonback
Image by Wizards of the Coast |
Imagine for a moment...
A many-eyed aberration, lazily circling a floating tower high above the shouts of the red-robed wizards and black clad soldiers on the ground, menacing the fleeing guards from the city.
Four adult dragons with heroes astride, their huge wings beating in unison, racing over the shattered ruins to converge on the tower.
The heroes, thinking the Xaltar was the main threat, rushing in with some expert dragon dive-bombing, the gem dragons' breath weapons making short work of the beholder.
Then the look of shock on the heroes' faces as the Red Wizards' foul ritual slays the soldiers and channels their souls into the tower, releasing a horrific and alien evil from beneath the earth.
 |
The child of Cthulhu grasped at the heroes with huge hands and malevolent will
Image by Andree Wallin |
Indulge your senses further, by imagining the sound of the klaxons from The War of the Worlds as a Child of Cthulhu emerges from the gate to the far realm, its red alien eyes and writhing tentacles searching for those that dared to oppose its followers.
With gigantic limbs intermittently emerging from the earth to pluck both dragon and rider from the air, the mission to mark and destroy the arcane tethers is now made infinitely more hazardous.
But the resolute party, having destroyed all the remaining ground forces, stays focused. Rathius improvises ingeniously, marking the tethers using Minor Illusion as he flies past them, deftly dodging the gargantuan fists.
In swift pursuit, Jaee finally manages to destroy three of four of the tethers, proving enough to destabilise the tower to the point where it lurches, then falls, then collapses to the ground with the sound of an earthquake.
Near-death experiences
While the party's plans were executed to the letter, the mission was not without its nerve-wracking moments. Three near-death experiences, in varying degrees of proximity to mortality, will forever be part of the story of the battle for Old Solus:
- Jaee almost falling 100 ft to the ground, but activating her Wings of Flight just moments before death
- Kingsley getting pounded by the Child of Cthulhu, and the big warrior, displaced from his mount, tumbling to the ground and being knocked unconscious from the fall
- Tomas, as prescripted, activating the artifact of Tyr at the precise moment the tower fell, to power the magical shield and protect the town, sacrificing himself in the process
Tomas' sacrifice, his ultimate act to right the wrongs wrought against the people of Faerûn, was noticed by his deity. In a brief, but poignant interlude, Tyr informed Tomas that his work was not yet done. Nor was his journey of self-discovery.
"Soon you will have to choose Tomas. You have been a faithful servant thus far, but you have many forces swirling around you and you will need to decide whom you serve... and as my tested and loyal servant you have earned the right to choose for yourself..."
And so concluded the first half of the campaign! [Our characters are 10th level, and the intention is to play them all the way to level 20, after a mid-campaign session zero to help guide the second half].
Tips to making a rewarding BBEG confrontation
 |
Managing the tension is key to a Dungeon Master's role
Knaflic, Cole. Storytelling With Data: Let’s Practice! Wiley, © 2019. |
So, as promised, here are the tactics that I observed our DM using to deliver a satisfying, climactic encounter:
1. Have an encounter that 'softens' up the party a little
At the start of the session, our DM sent a raiding party to attack near the group's base of operations. This served as a fast start, and to 'warm up' the players for the final battle. It could also serve to drain some of the characters' resources, if you're worried about the party trivialising the final battle.
2. Create narrative tension through conversations in the lead up
Having the different allies show up during the planning phase was both narratively satisfying but also served to underline the immense challenge ahead of the heroes. The NPCs were used as an in-fiction way of working through the game plan. Asking a player to sacrifice themself for the good of the town massively raised the stakes and was a sombre moment. Having dragons, whose help was not guaranteed, show up in the nick of time swung the momentum back upwards as battle neared.
3. Have objectives besides just defeating the enemies
One tried and tested way to differentiate the final encounter from others is to introduce objectives outside of just vanquishing foes in combat. In this instance there was both defending the city guards (who were trying to flee) to minimise casualties, and the mission critical objective of finding and destroying all four arcane tethers to bring the tower down.
4. Use phases of the encounter to escalate the stakes
When the Xaltar went down so quickly, there was a short moment of elation followed by a feeling of "was that it?". Then, in a moment that was reminiscent of Dark Souls bosses, the "oh no, it's not!" start of a bigger, scarier Phase Two, is another way to differentiate the final encounter from other tough fights.
5. Allow enough time with the encounter, so the moment isn't rushed
I can't underscore this one enough! Know how long your sessions go for, and don't plan too many encounters in the lead up to the final one. You risk having to end the session without reaching the climax, or worse, rushing it. Our battle finished with about 30 minutes to spare, allowing us to wrap up and reflect on (and bask in) what had just happened. This was expertly timed.
Now I also suspect a related tactic was used by our DM to manage time - identifying the moment when the real risk was over, and speeding up the conclusion, rather than going through the motions. He did this by deciding that once the third arcane tether was destroyed, the tower was destabilised enough to fall, rather than making us going through another one to two rounds. Thus we gained the reflection time I mentioned above.
So there you have it! Moonsea Madness was started in February 2021 and just passed the half-way point in September 2022, ending with a bang. I hope this helps you prepare your players' confrontation with the BBEG, and stay tuned for more adventures in the second season!

Comments
Post a Comment